Make your own chocolate bouquet gift
As my daughter gets older she is getting a bit harder to buy for. She has lots of toys and doesn’t really need any more, due to growth spurts and sporting activities she has enough clothes throughout the year and has enough craft to keep her busy for years! One thing that she can never get enough of is chocolate! So with birthdays and Christmas presents, I have been trying to get creative with chocolate-themed gifts. Last year I played about with a chocolate bouquet, so feeling a bit more confident I tried again to make something a bit better this year.
How to make a chocolate bouquet
What you need
- Cardboard box to act as the vase
- Wrapping paper to wrap your box (optional)
- Floristry block, this is the best thing I’ve found to hold the chocolate bars in
- Wooden kebab sticks, these are a great size, strong and easy to cut to attach your chocolate bars to as the stem
- Sellotape, normal and double-sided
- Fake flowers - these aren’t essential but add an extra flare
- Variety of chocolate bars and sweets of your choice.
Choosing your chocolate bars
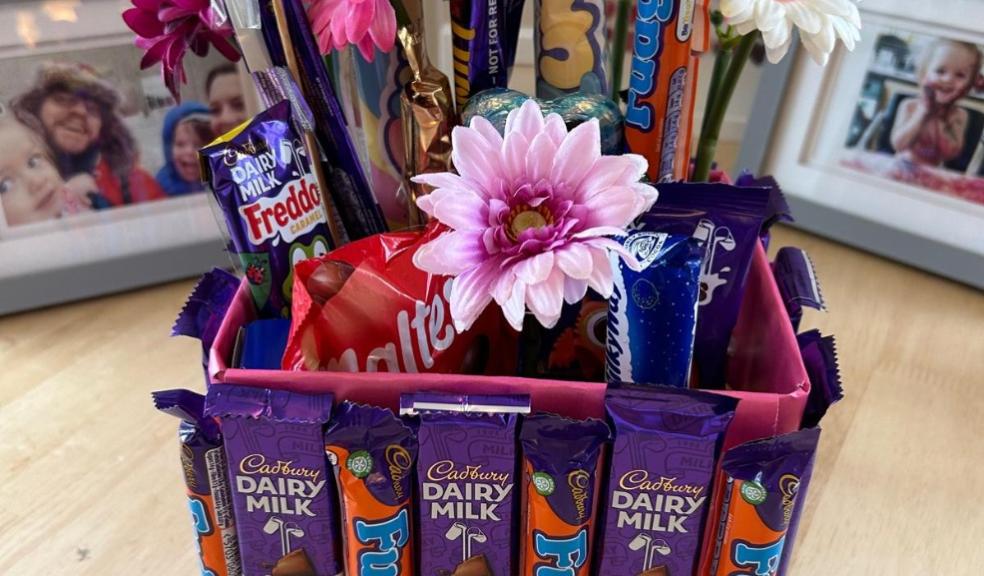
With the first bouquets I made I used large sharing chocolate bars, I ended up using about 8 of these, which was way too much for my then 7 year old! This year I alternated dairy milk mini chocolate bars and fudge bars which looked great and were easier for my little one to eat. For the chocolate ‘flowers’ I bought a selection of chocolate bars and sweets in various sizes. I used things like dairy milk bars and mini milky ways. Then a few stand sized chocolate bars and items like flumps. At the end I got some smaller chocolates and sweets (like chocolate coins and small tubes of love hearts) to go on top of the florist block at the bottom of the stems.
How to make:
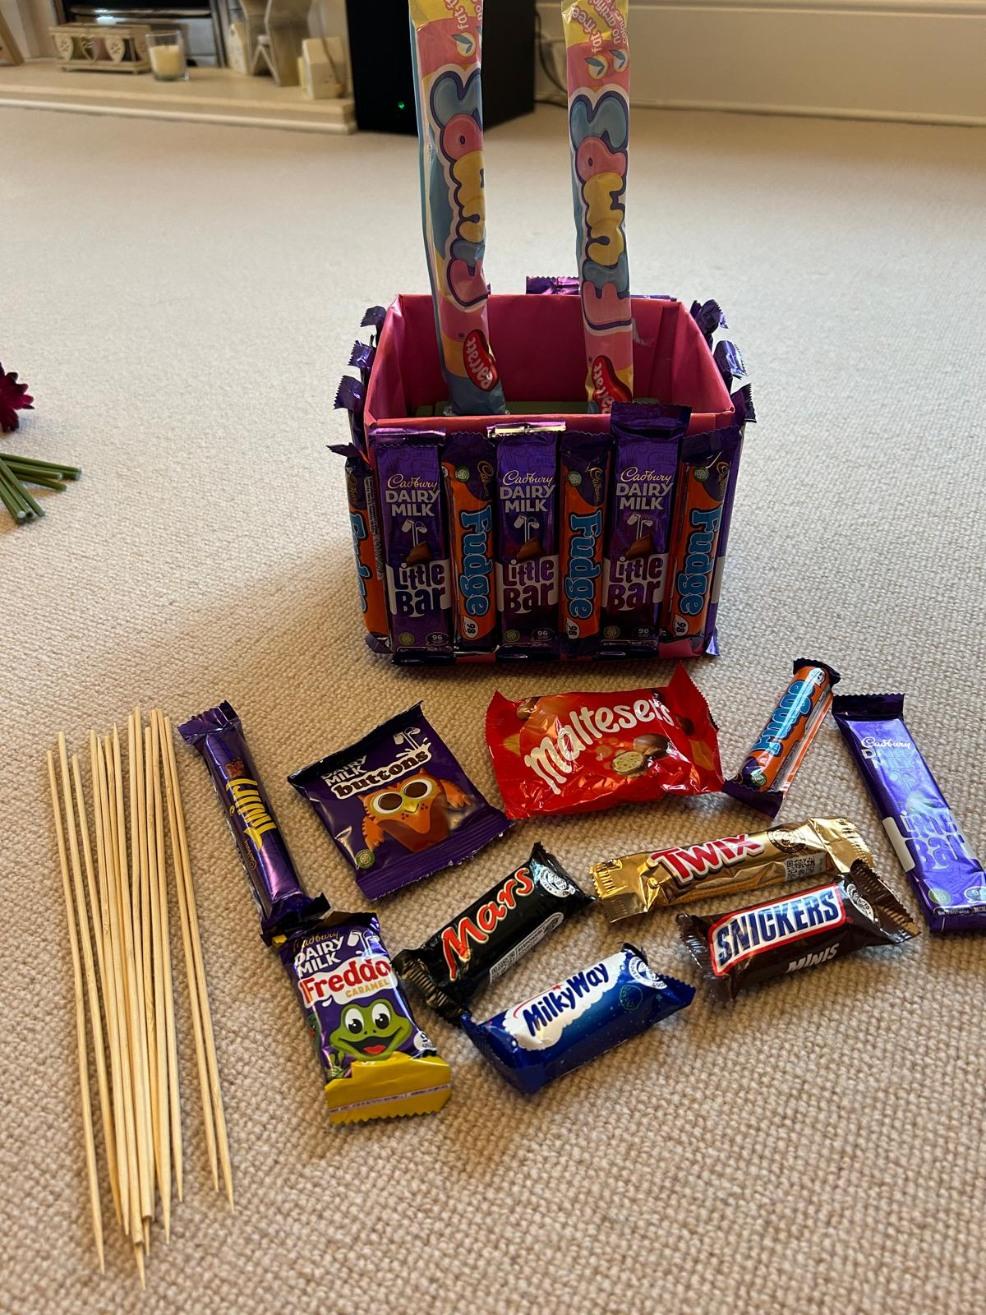
1. Firstly I wrapped the cardboard box in the wrapping paper. You don’t need to do this as the chocolate bars cover most of the box, but I liked having a bright pink background to make the chocolate bars stand out.
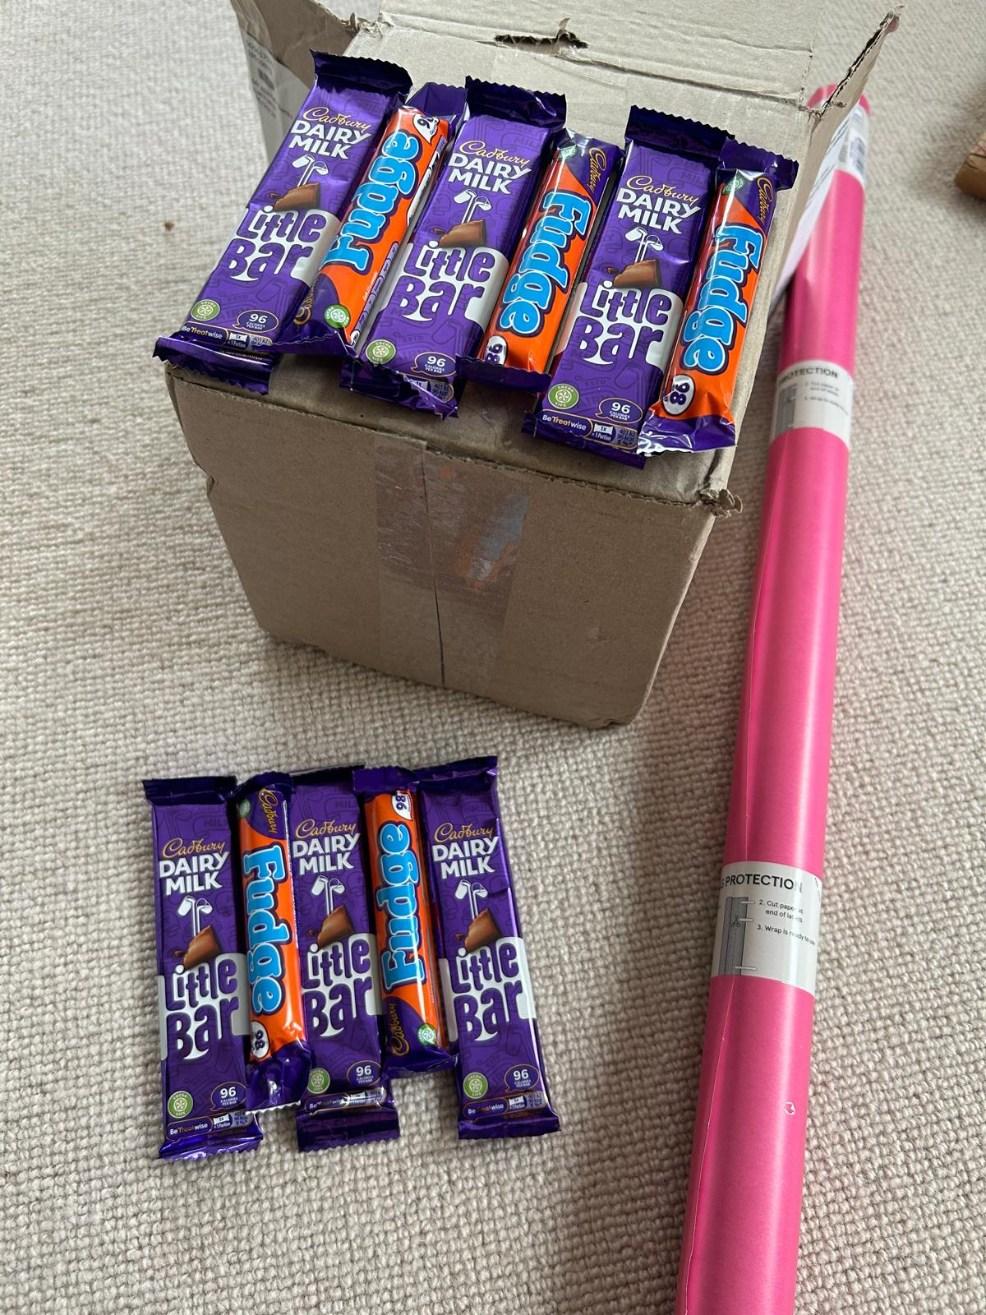 2. When the wrapping paper was all on I got some double-sided tape, which I put horizontally on each side of the box. I put two rows of tape on as this worked well for my size box.
3. With both the paper sides of the sticky sided tape off I then placed my chocolate bars on top. I used fudge bars and dairy milk bars which I alternated all around the box.
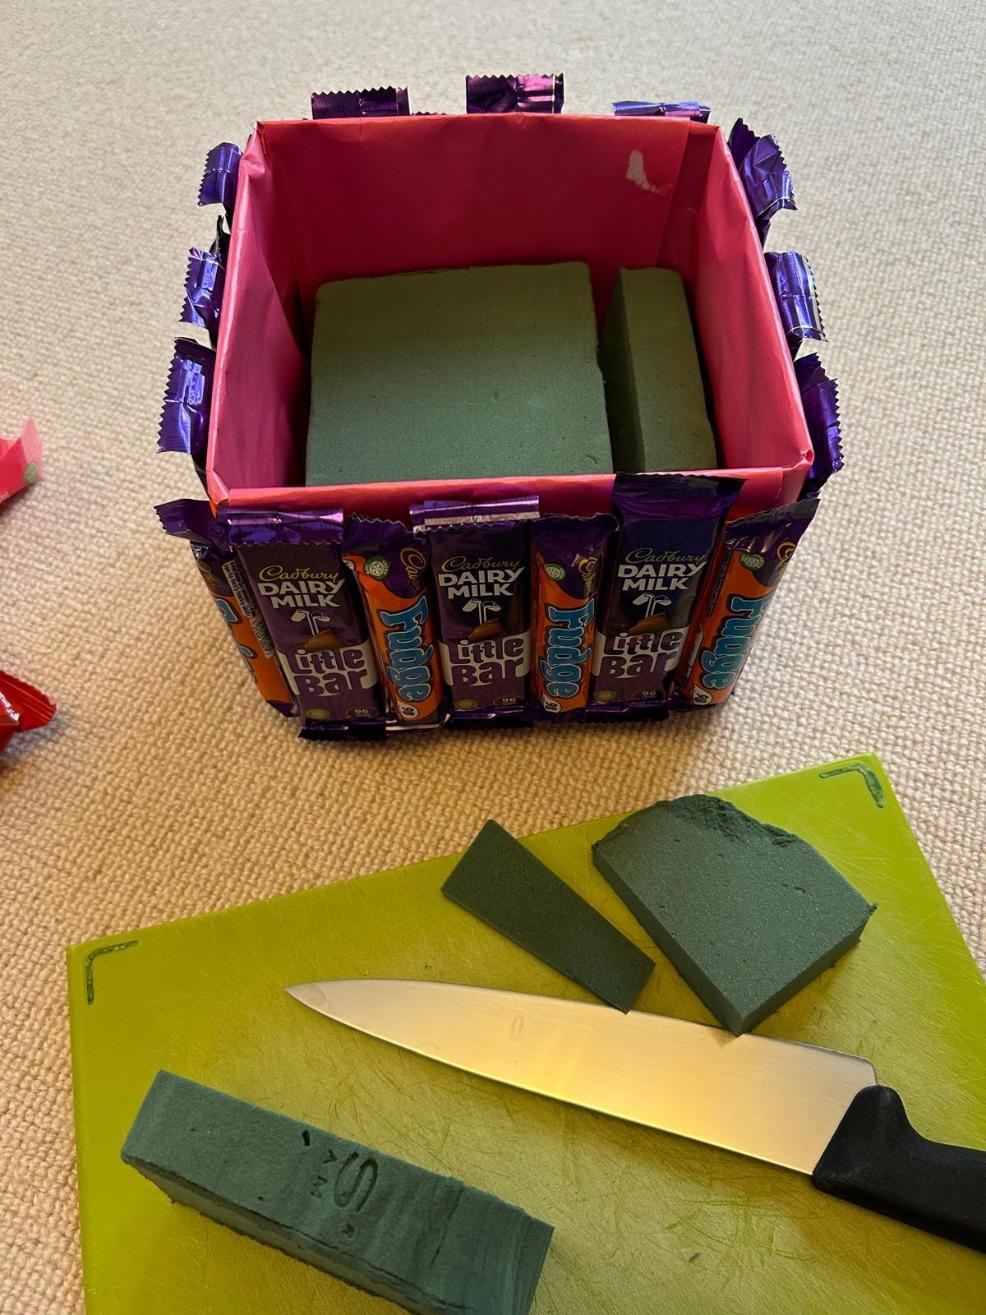
4. Once the outside was done I cut my floristry block to size to fit in the box. This was really easy to do using a standard kitchen knife. I then placed the block inside the bars.
 5. Next I turned to the chocolate bars and wooden sticks to create the chocolate flowers. This can be a bit fiddly and you may need to experiment with how your different chocolate bars attach best to the stick. I found that placing the stick under the flap at the back of the chocolate bar, then folding it over and securing with sellotape worked best
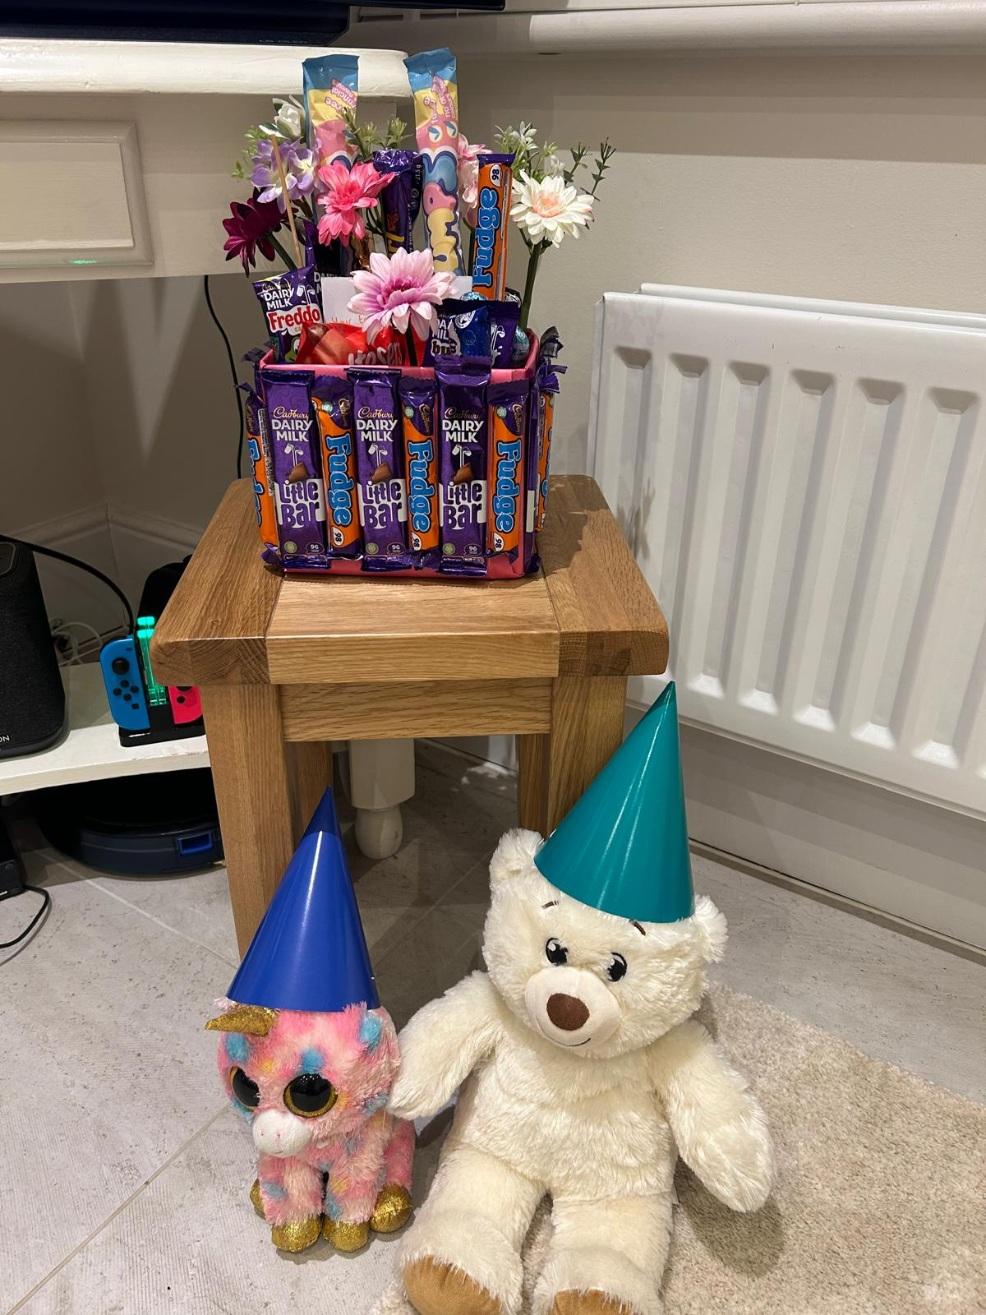
6. Once the chocolate bars were all attached I placed them in the floristry block, arranging them according to size. I got some fake flowers for a bit of extra fun which I placed in the floristry block now too.
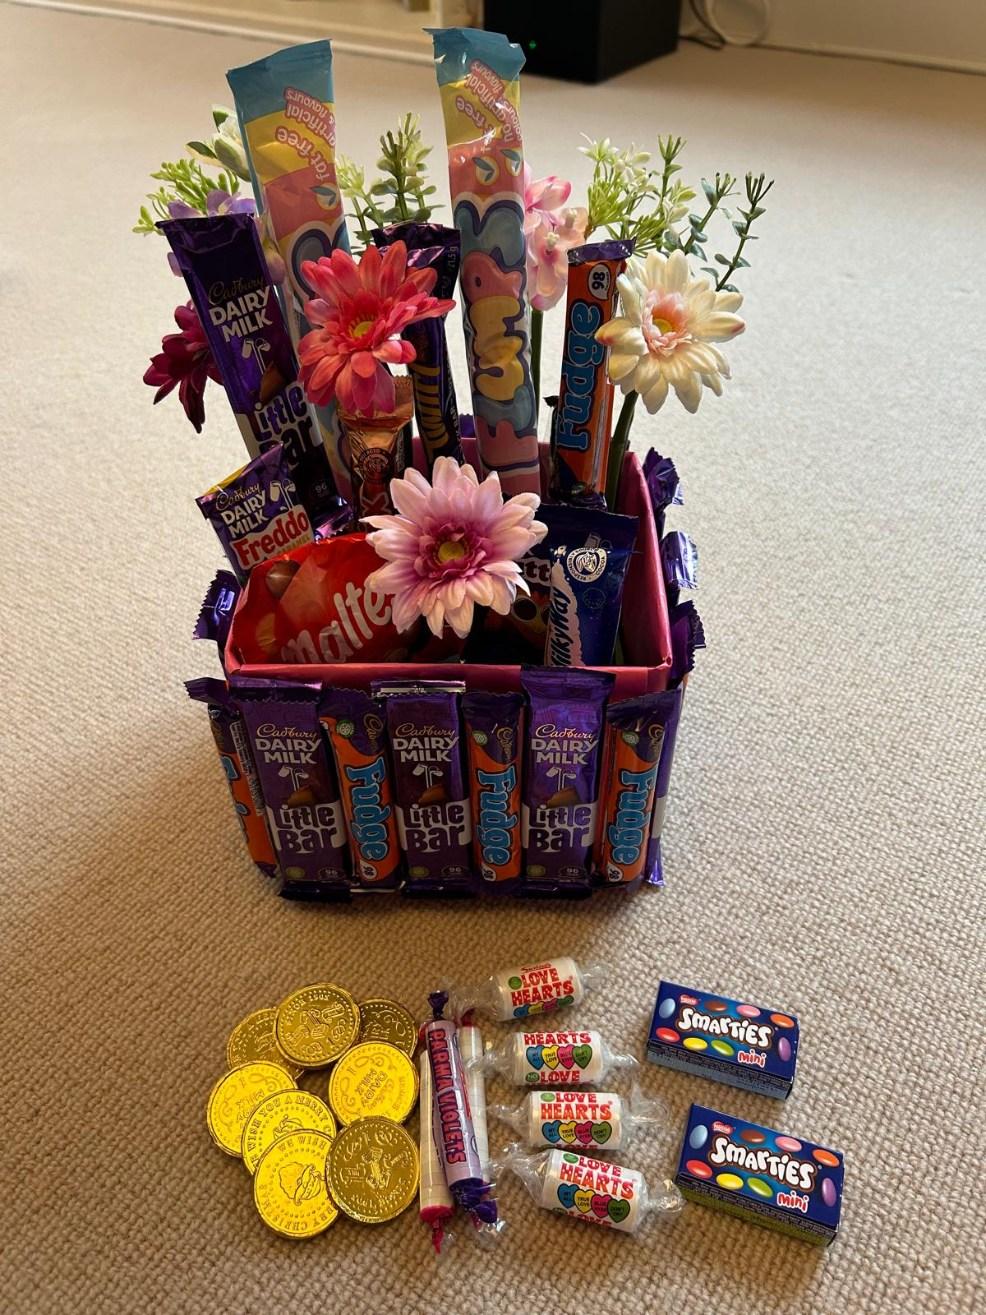 7. For the finishing touch I placed the smaller chocolate (chocolate coins and sweets) on top of the floristry blocks so it covered it completely.
And you’re done! I really enjoyed making this and my daughter absolutely LOVED receiving it as a gift! If you have a chocolate lover then this makes a great birthday or Christmas present idea.
If you are looking for done more sweet treats why not check out some of these:

